Clicky Keys on Keyboards - Giving my Nord 5 some TLC
Hi @anna-newkey here.
This space is for all things music related and today I will start with my project I had postponed until I had a stretch of time spare to do it, which happened to be yesterday.
A few weeks back I bought a used Nord 5 keyboard; I had my eye on them for a while as I wanted a small portable keyboard with heavy keys for a more realistic feel.
It's a few years old, but still wasn't cheap as they're high quality and hold their value well.
I mentioned it before here: Anna's New Keys and Work, where I had already taken it apart to replace the felt under the hammers.
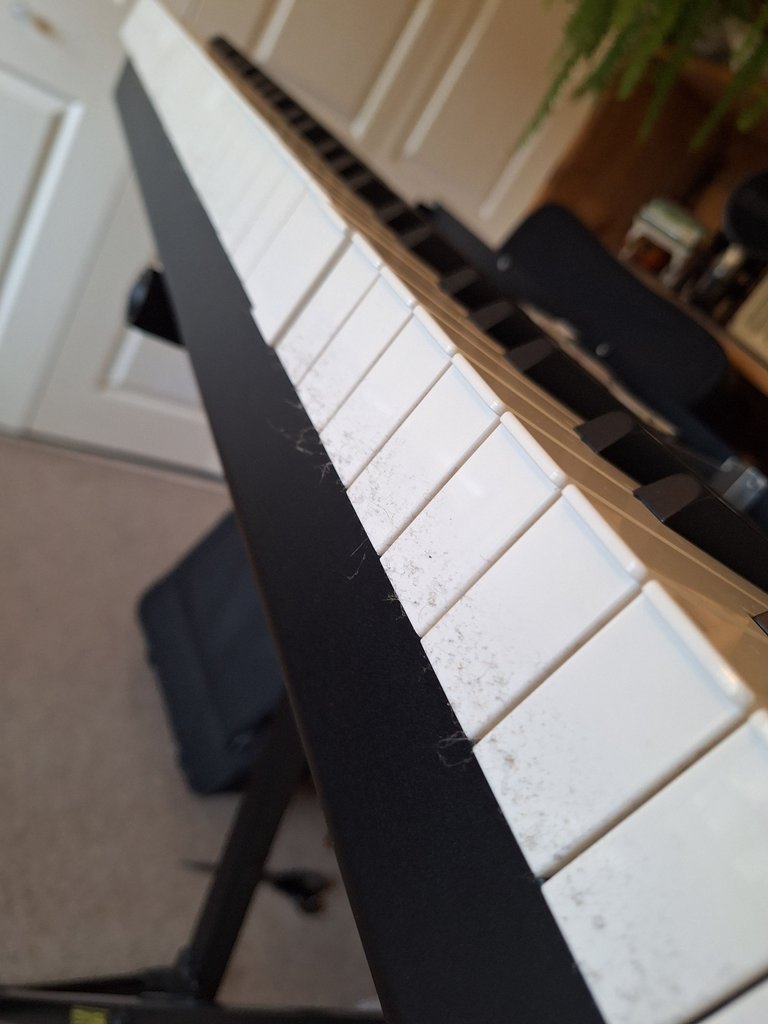
Older keyboards start suffering from clicking keys which isn't very nice when you play a quieter song and aren't plugged in into an amp.
Mine had that very problem on some keys that I marked up with a pencil and finally got to work on that issue this Saturday.
It took 2.5 hours and it was time well spent!
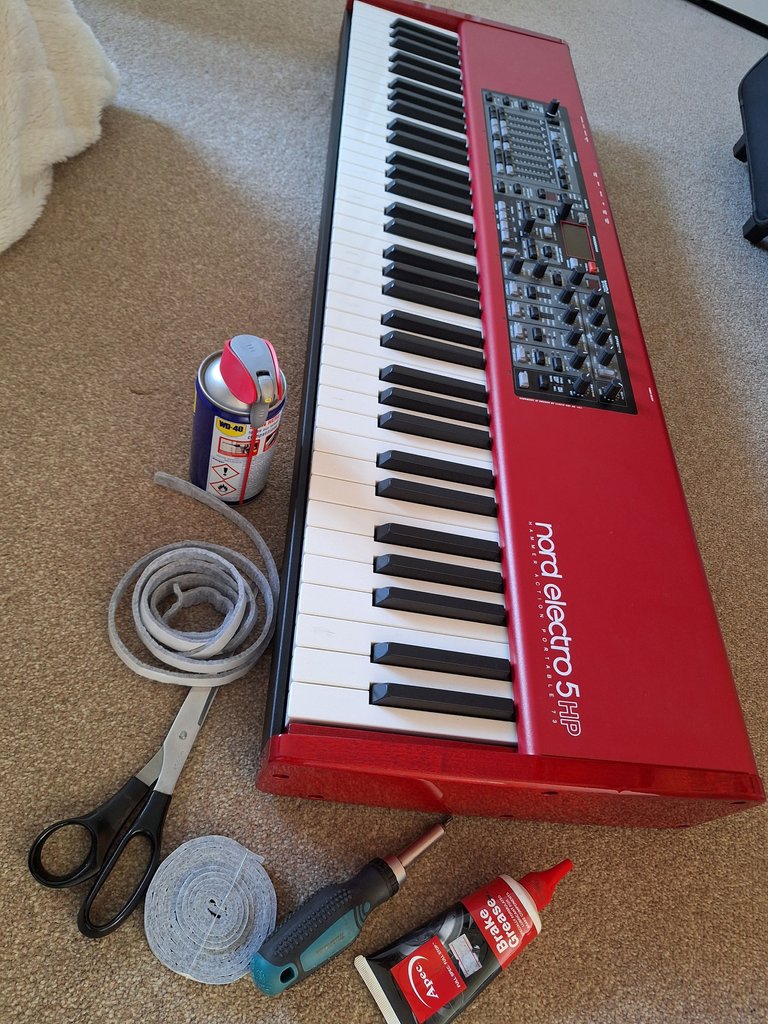
First I got my tools together. I had planned to do the felt again, which is why you see the grey rolls there, but decided that what I had done the other day was fine.
I knew I needed to grease the keys to get rid of the clicking, but didn't have any electronic stuff, so I used brake grease instead, which worked just as well.
I shall get some electronic grease though as I'm sure I'll have to do it all over again at some point.
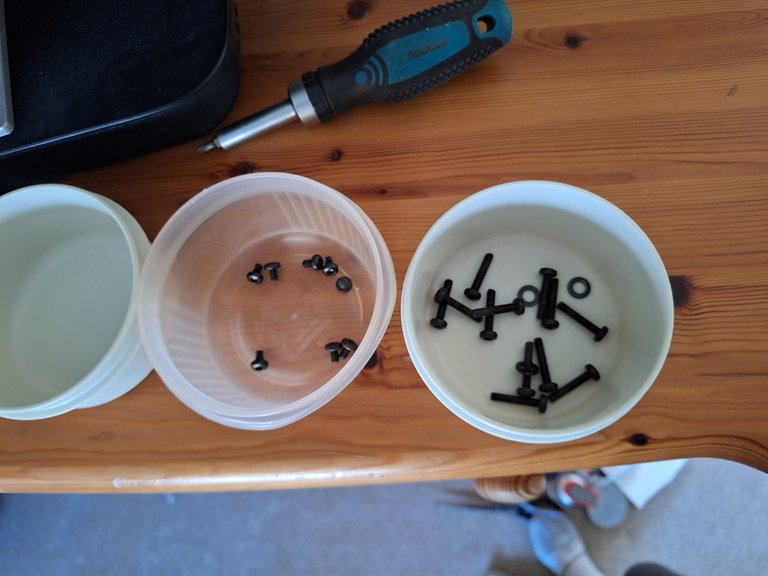
Sorting the screws as I'm taking the thing apart
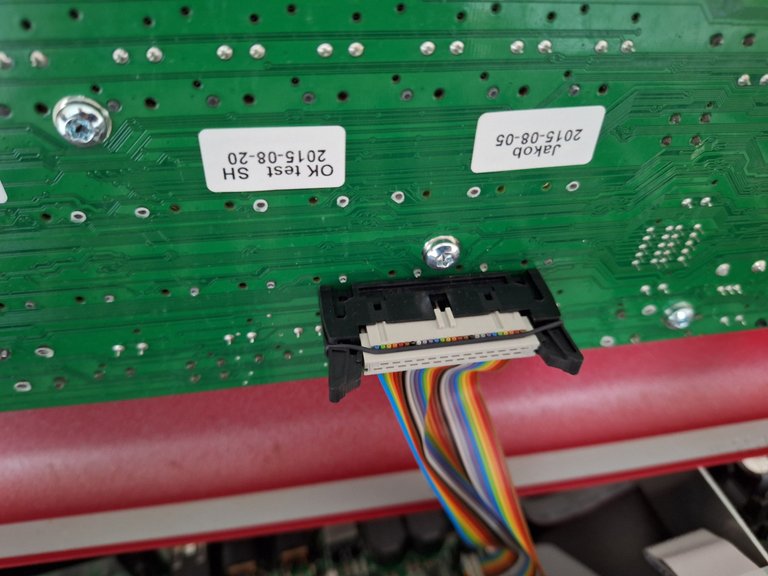
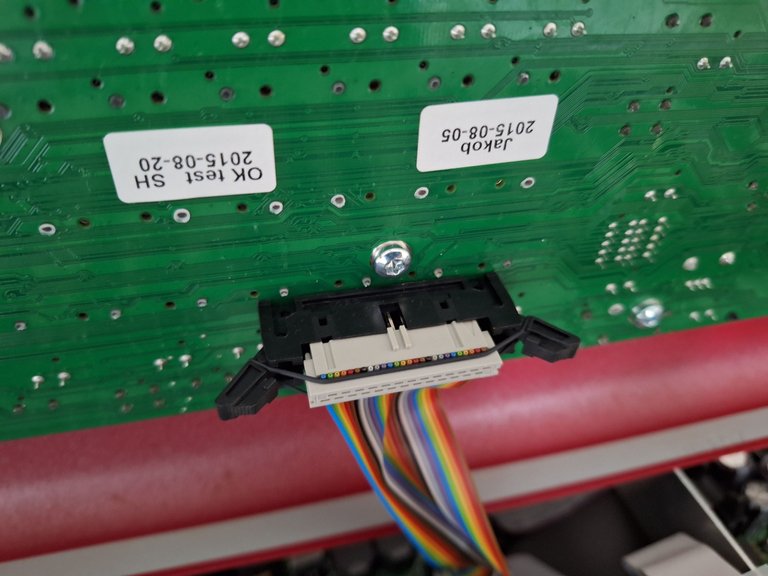
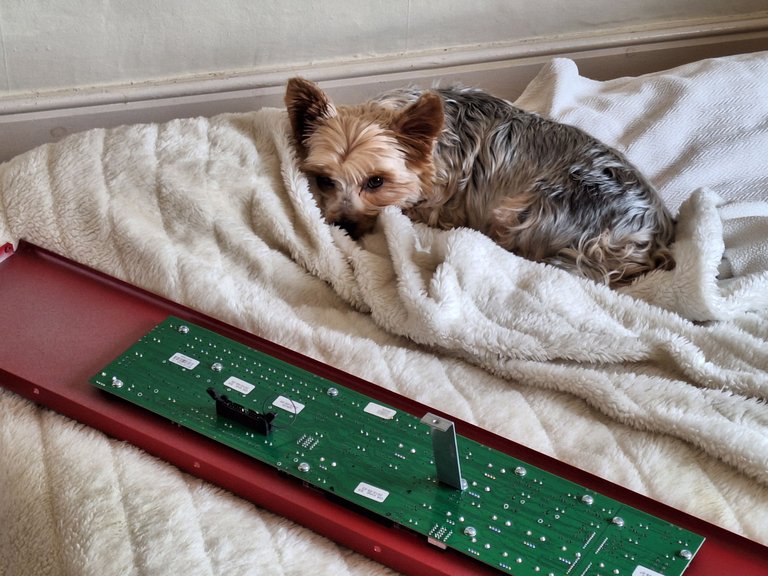
Unplugging from the motherboard once the lid was up.
|
|
|
|

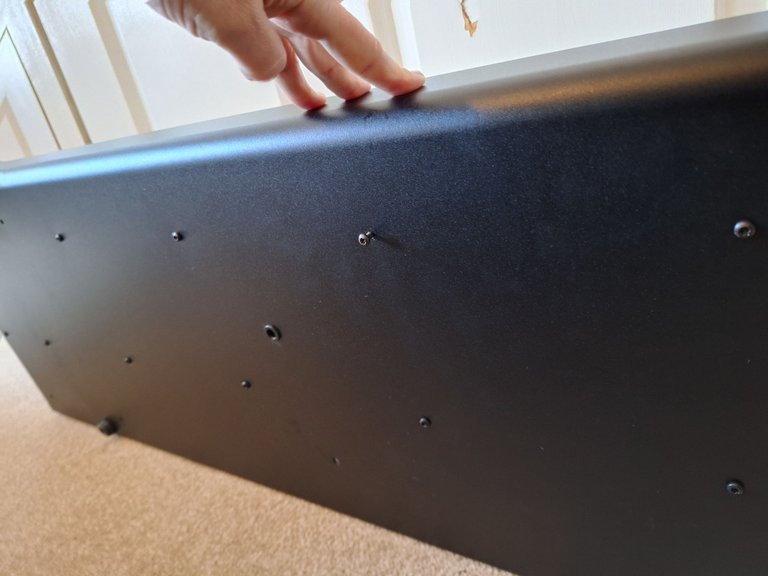
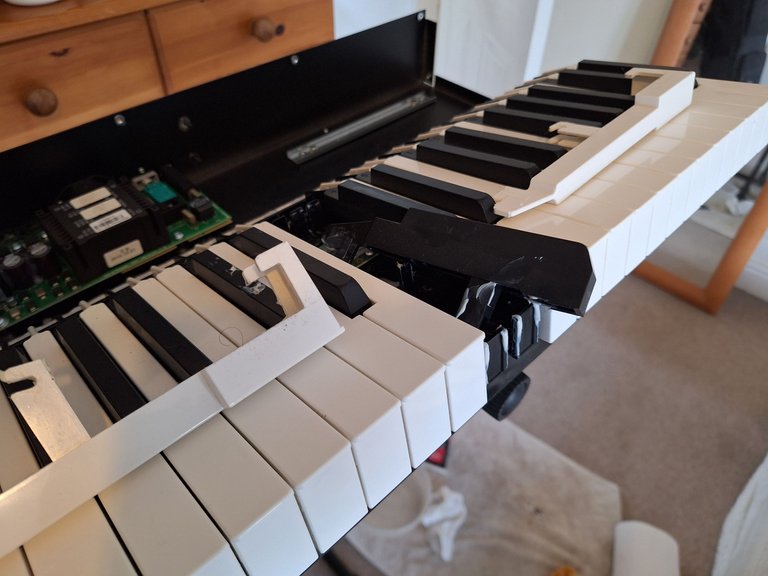
The top with the sides parked on the bed.

I had to remove the whole keybed to get the keys out, it's screwed in on the underside.
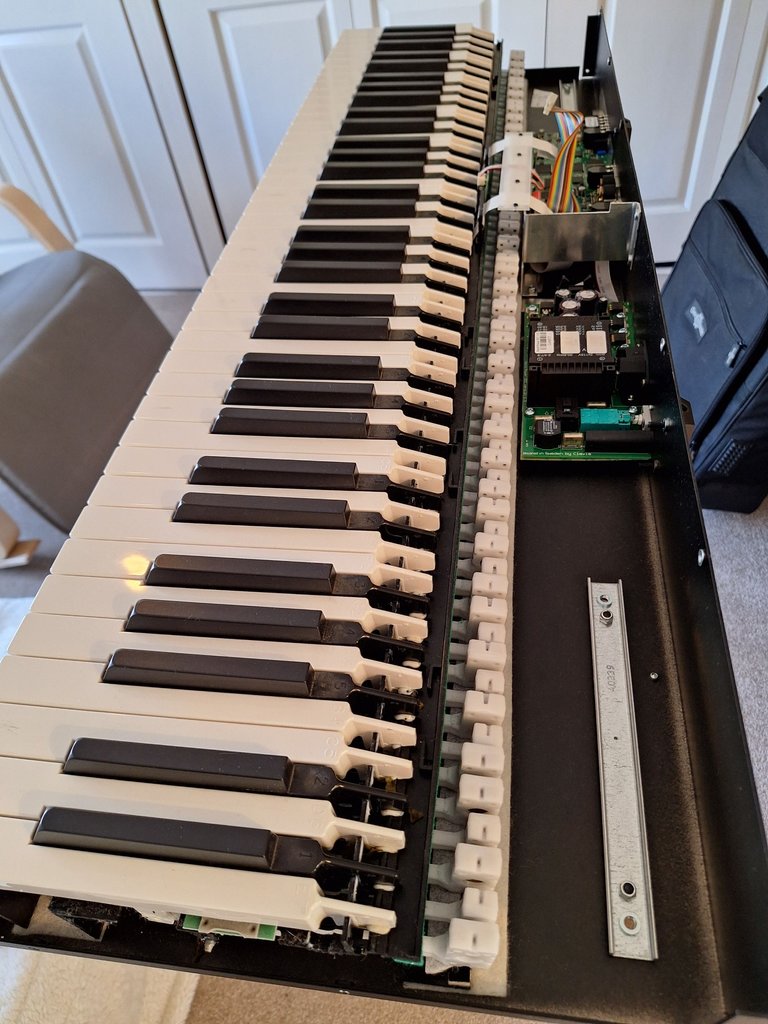
Here's the felt strip I put in the other day.
Things got a bit of a wipe while I was at it.
|
|
|
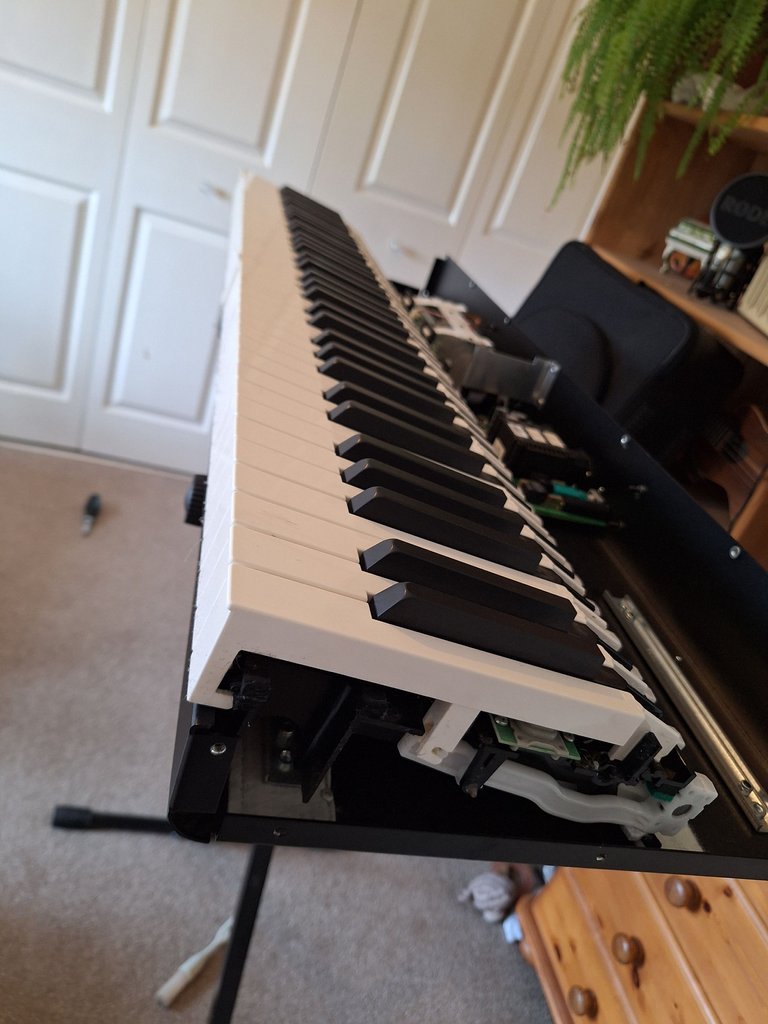
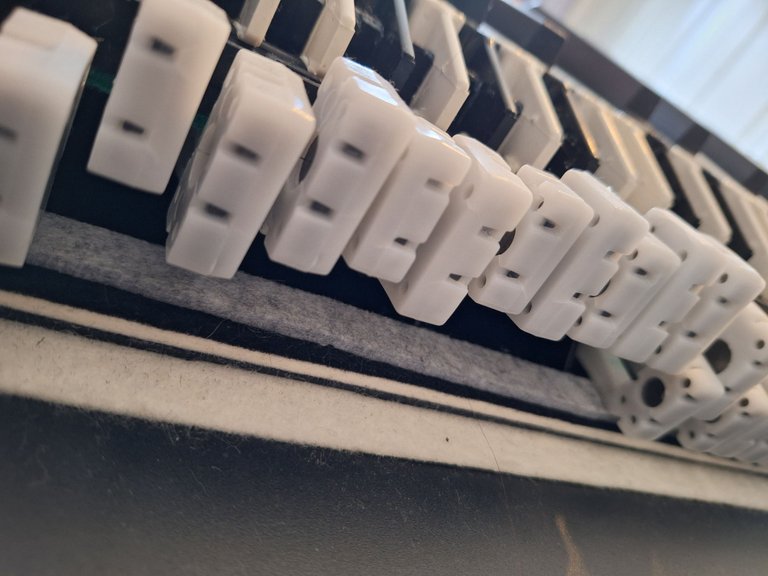
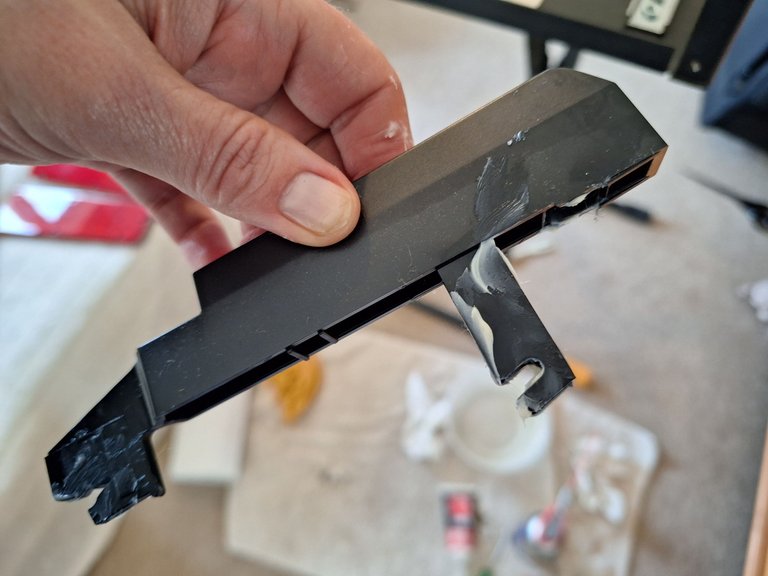
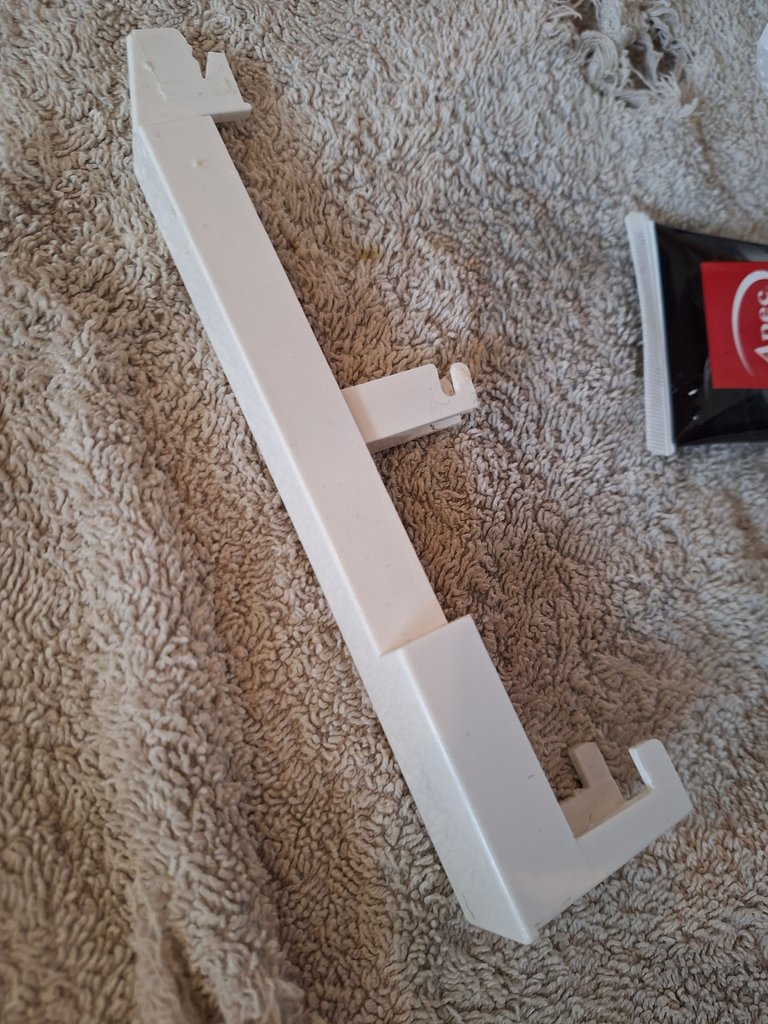
Next I removed the first key. You pull it towards you until it clicks out. They're are quite sturdy plastic.
|
|
|
|
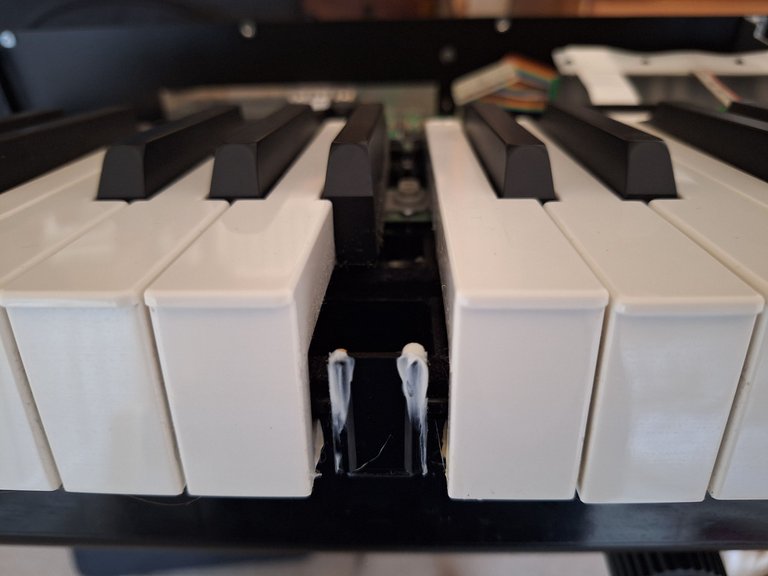
I put grease on the three points, ends and middle, forgot to take a pic though. Some still had a good amount of grease on them, it just needed a little spreading.
For the black ones I had to remove the two left and right of them, so I greased them too while I had them out.
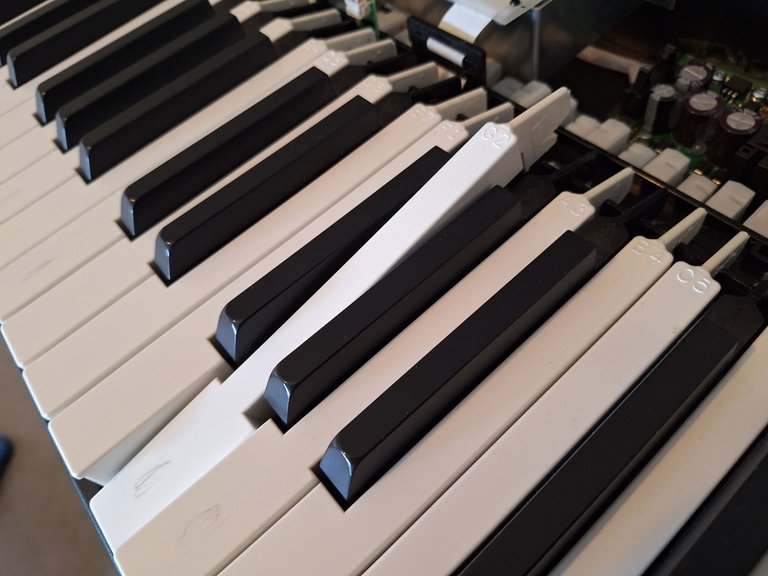
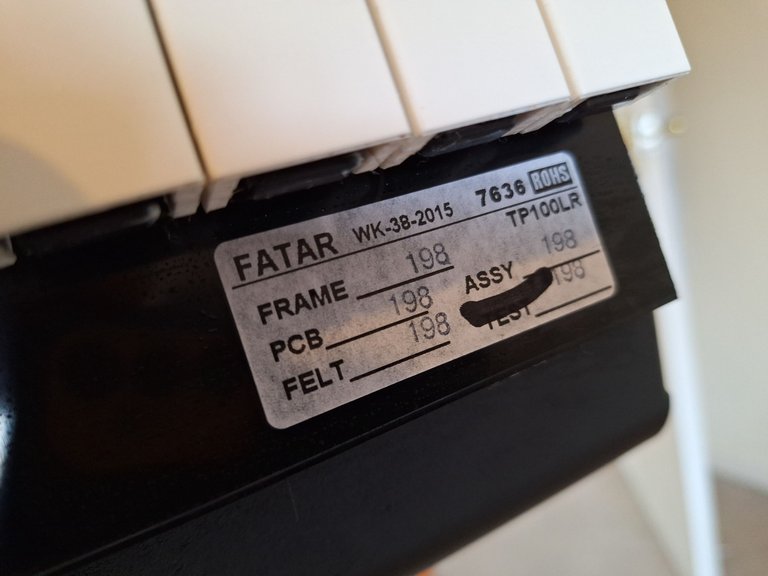
I took pictures of any labels in case I needed them later.
Oh, and Mia was helping as usual..
|
|
|
This was a few hours well spent on a Saturday and things work smoothly now. It's a real pleasure playing it now and shall record something to put here at some point.
Thanks for looking!
All images are property of @anna-newkey, @steve-o2023 and @steve.and.anke unless otherwise stated.
Holy quack, all I kept thinking was you are so brave to be driving into the thing. For me that's the stuff of nightmares. I would put it back together and something wouldn't work
😄 Oh, I DO know how those nightmares feel!! haha
I'm chuffed that all is back in working order!!
I'd like to think it's the quality of the thing.. all screws went back in where they belonged.. Or I might just have been lucky.. not sure.. 😂
As long as they're wasn't anything left over you know you are on the right track!
🤣
I don't tend to think of keyboards as needing so much maintenance, but it seems to be necessary. Well done on doing it yourself. Enjoy playing it.
That's a well known issue, I think and I'm glad I can do it myself.
I think the keyboard is made for that, long lasting and easy to maintain, which is brilliant.
Wow, that's... I don't know how else to say this, lol. You did so well. Well done.
Thank you, I'm very happy it worked so well! And I've learned something along the way.. 😊
Do you want to get involved? Do you want to support music and this project? Follow us to keep you updated and read our Introduction post!
🎶 Join us on our Discord Server! 🎵
Thank you! 😃
Un post muy interesante, felicidades
Gracias!
That was hard fixing. Luckily, you still did it. 😊
Haha, yes, a bit worrying to begin with. I'm glad I gave it a go though, much better now.
Yeah. It looks better.