Playing God with my Cordoba's Electro-acoustic Guts
My 2024 has been pretty dire so far. I had the most horrendous razor-blade sore throat a fairly severe burn on my finger, I broke my special mug, my phone committed suicide, my estranged dad had heart surgery for a condition which turns out to be hereditary, and I broke my most expensive guitar!
Sigh.
Well, I'm 99% over the cough, my new phone is great (all photos from it; Galaxy S23+), my burn is healing, I have more special mugs and my dad is estranged. So I can get over the most of it.
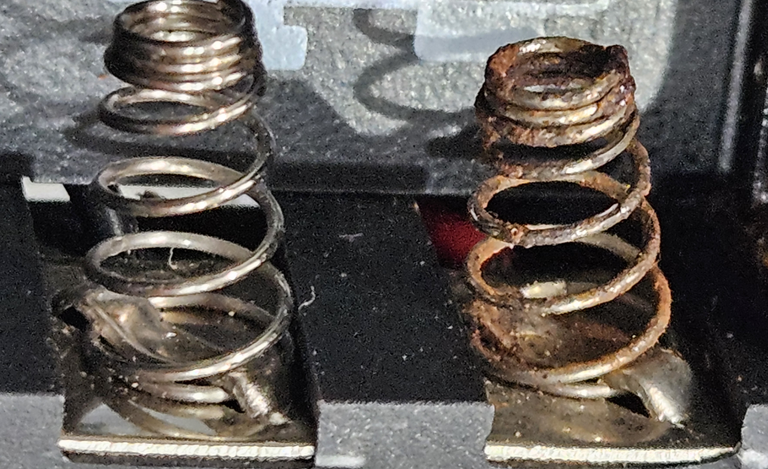
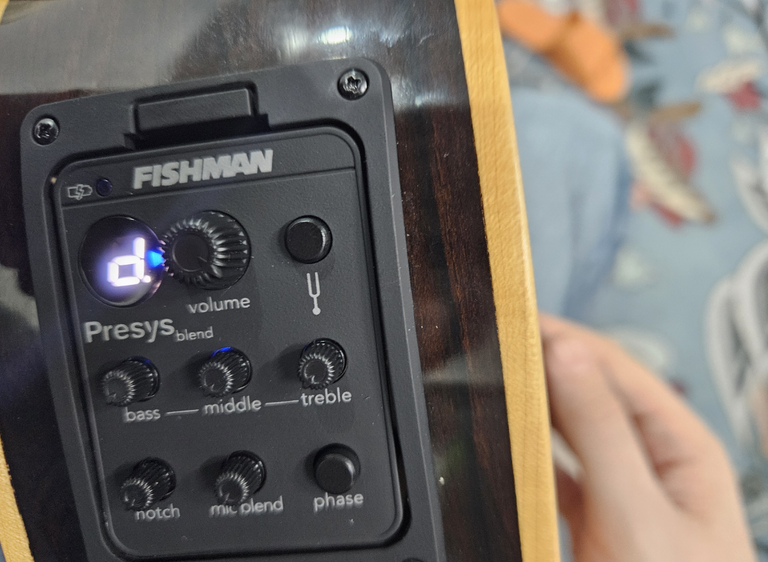
As for the guitar, well, it's still functioning as a guitar perfectly fine, but it was the pickup system and pre-amp that made it an electro-acoustic that died. It was a custom Cordoba Fishman and despite never spilling any water on it, one of the battery springs had heavily, heavily rusted to the point that a vinegar scrub wasn't going to cut it.
Frustratingly, the entire system is pretty impossible to separate, so it's not like I could jsut replace the spring, or the pre-amp, while keeping the pickup. everything had to go.
I decided to do this myself instead of paying for a service! Why not? Seemed in theory simple enough. So for anyone who stumbles across this and prefers to read rambling idiots bumble their way through DIY rather than watch a proper video (there weren't many to go on, tbh), this is how I did it (Spoiler: Successfully!)
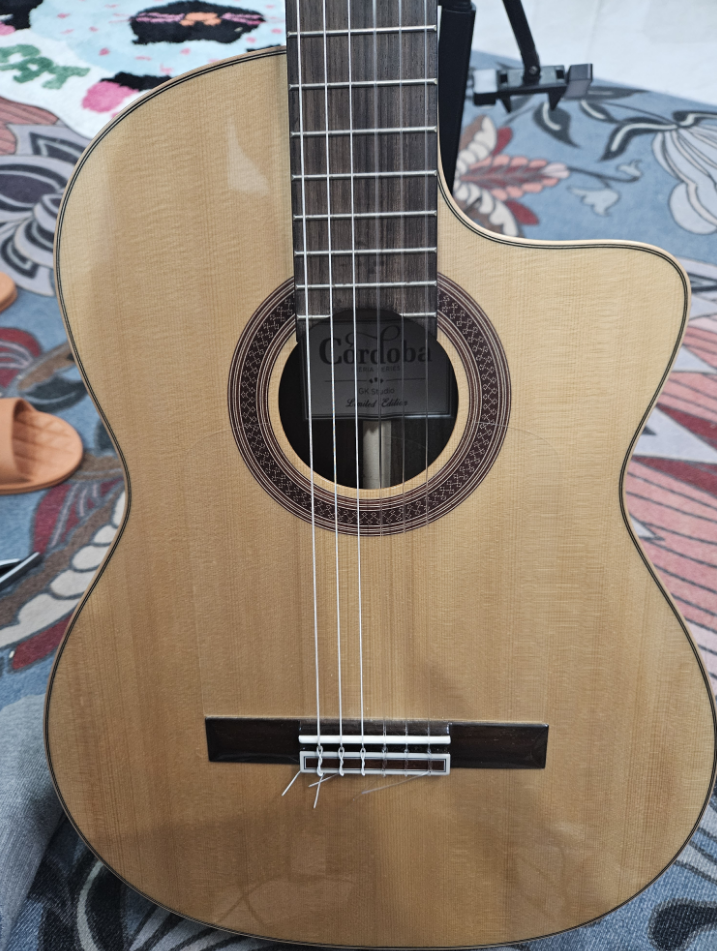
Cordoba Studio GK Negra
This is a GREAT guitar for me. It's a bit of a cheaper model compared to its big sister, GK Pro, so the quality is undoubtedly noticably inferior; it's not built from solid wood like the Pro is. But given my perpetual feeling of never being 'home' as an expat, I didn't wanna invest much more money than this one, and it's definitely the best bang for buck I could get. It's a kind of hybrid classical-acoustic which is perfect for my guitar classes, since I tend to teach students with a range of guitars simultaneously.
Honestly, this is the first time I've had a guitar that just watches is me in the corner, screaming 'Play me! until I can't ignore it anymore. So nice.
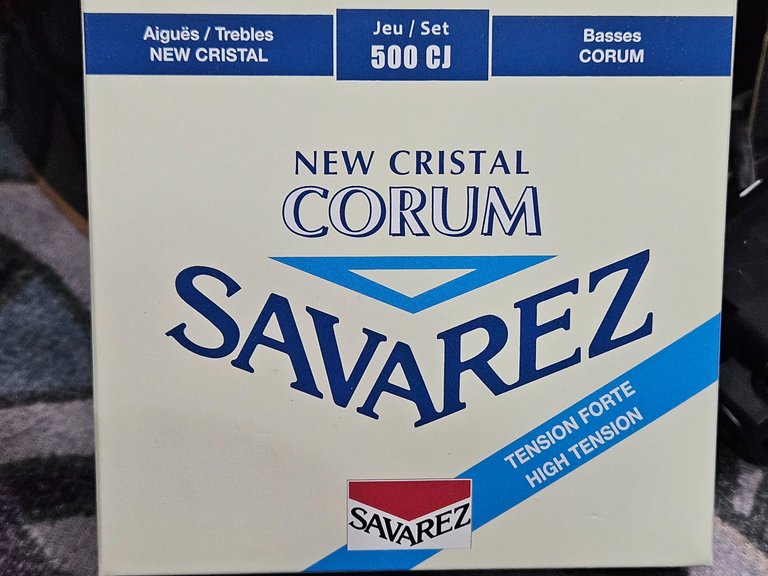
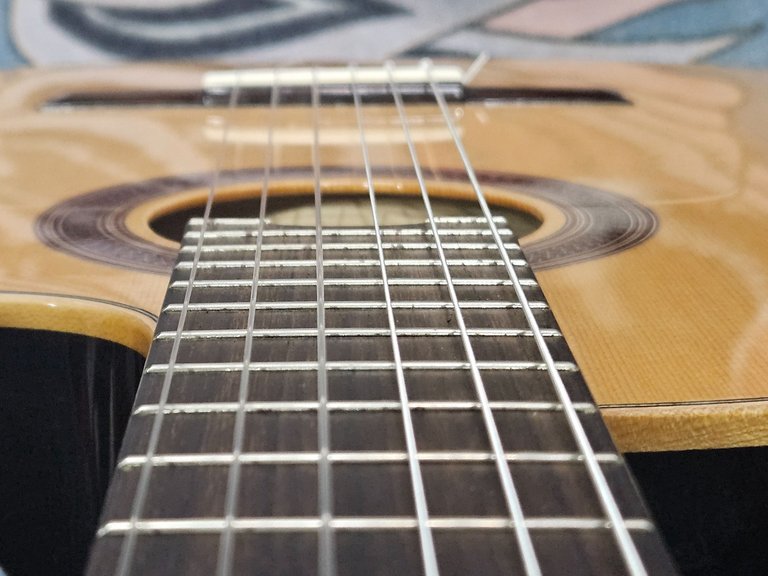
I complement it with Savarez strings which I also replaced during the repair job, which my cats loved.
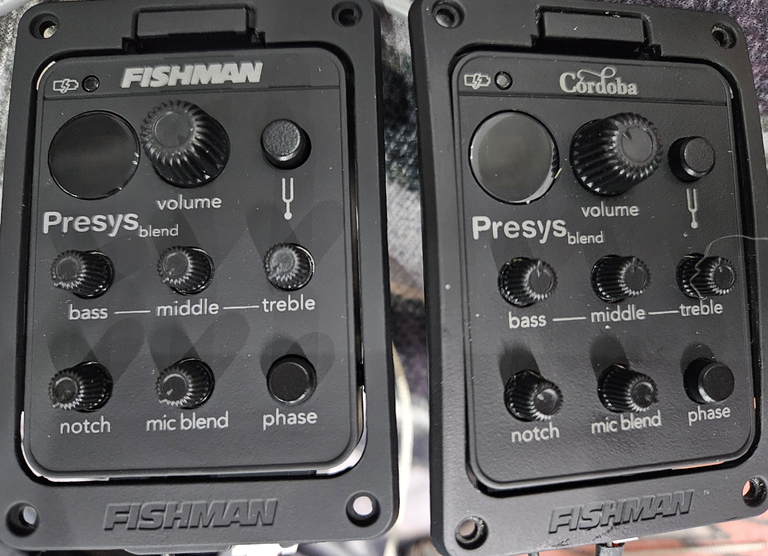
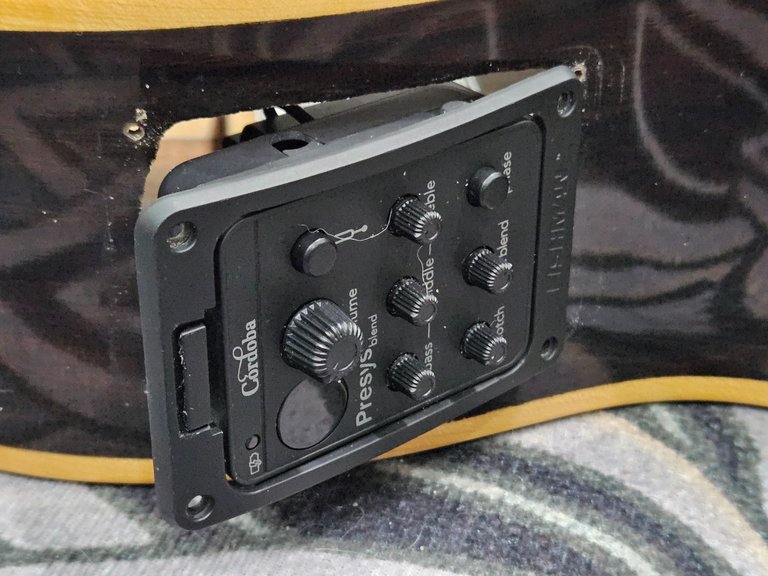
I managed to buy a genuine replacement part, although I couldn't find a 'cordoba' custom one, just the stanfard Fishman, which set me back about $85! You can see the only physical difference is the logo at the top, but I assume there's some tone alterations according to guitar which I'll be missing out on.
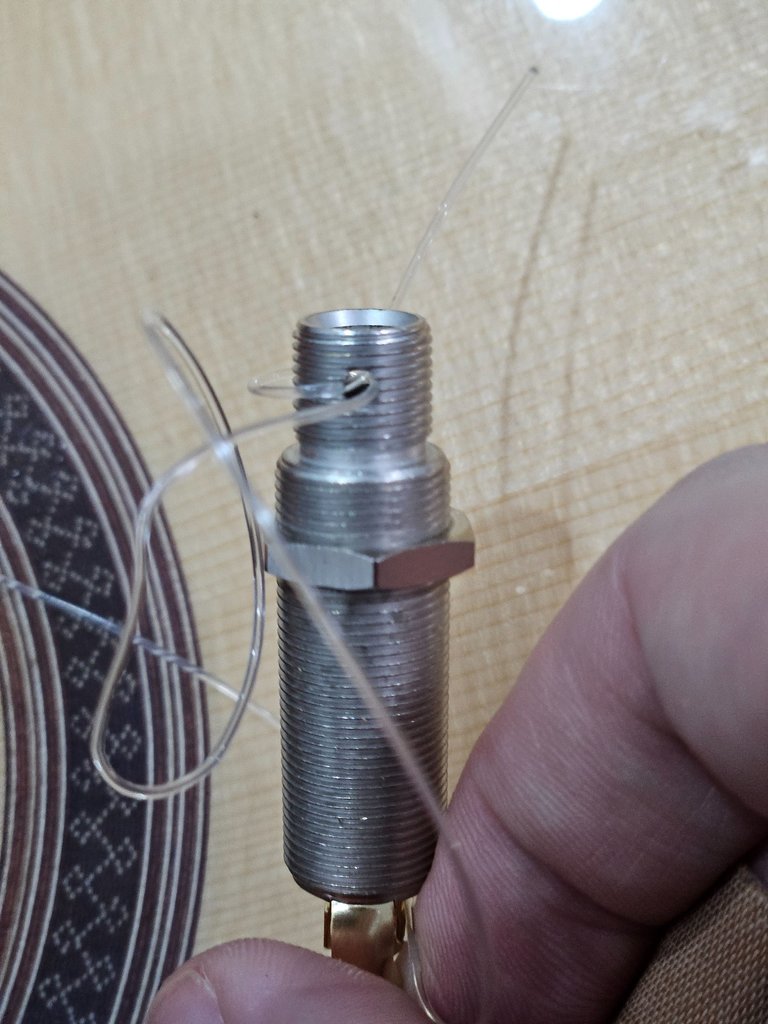
One good way to tell if it's fake or not is to feel the surface. In my case there should be an almost rubbery feel. The bridge pickup which comes attached is often copper with the fake models, while the genuine ones are silver:

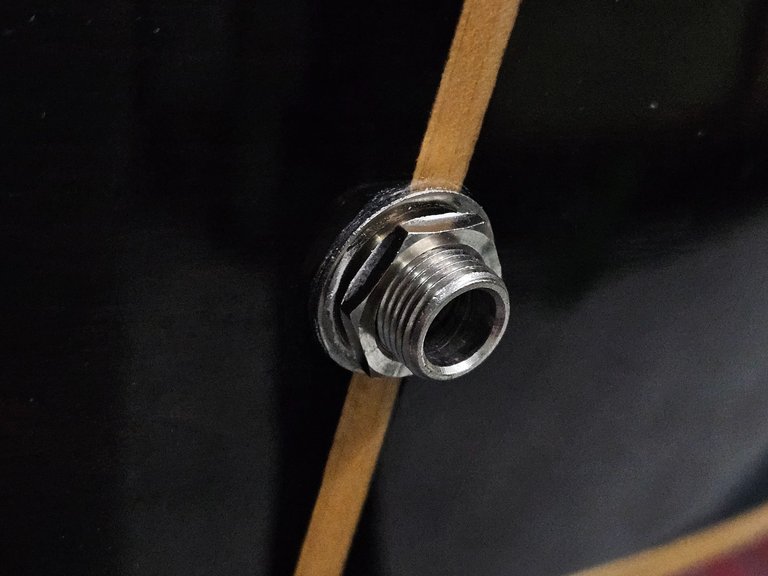
This comes attached with the jack input , each wired into the pre-amp above. The wires are strapped inside the guitar to prevent jiggling about annoyingly.
The first step was to get the jack input out from the bottom of the guitar. I couldn't unscrew with my fingers so I actually used the metal prongs of a clip I found, shoved it in the convenient holes drilled through the screw bit and used it as leverage. Worked a charm! Then I just poked it into the bowels of the guitar where I could extract it.
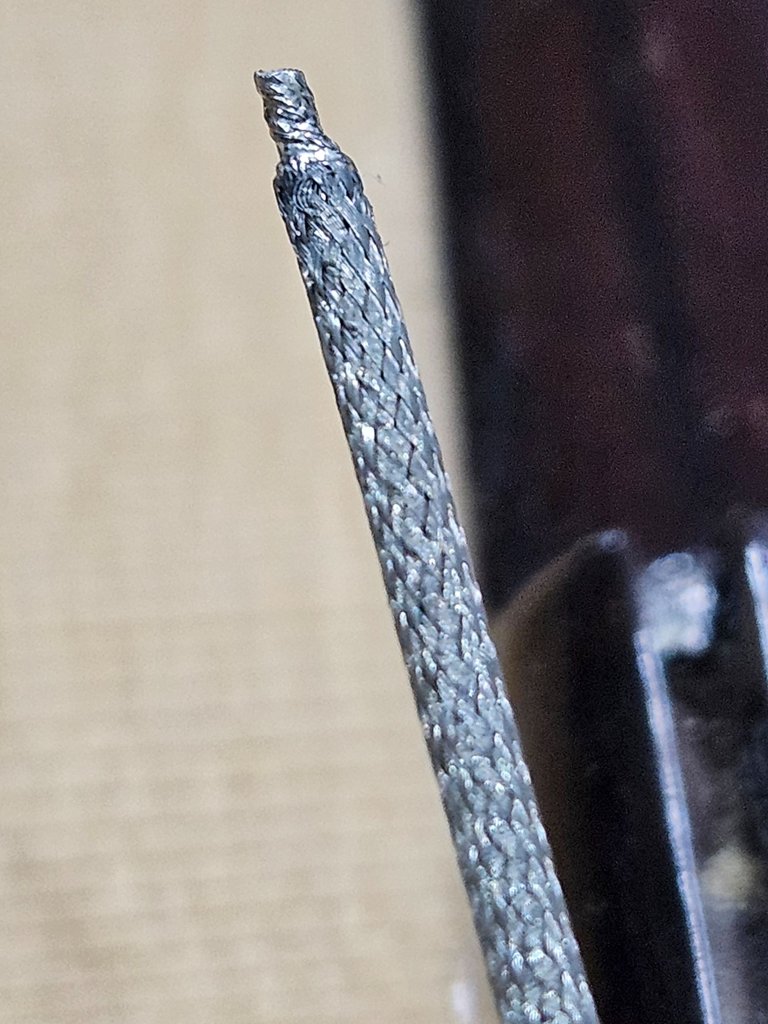
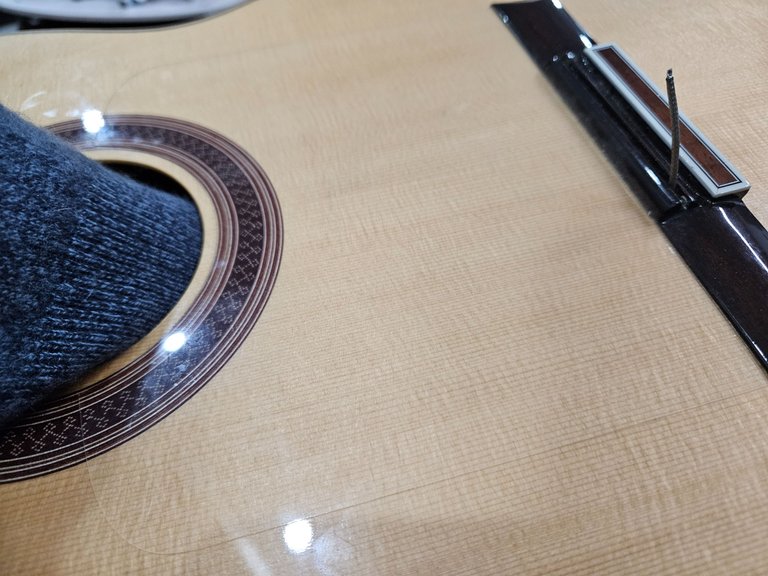
After removing all the old strings, the bridge pops out of its little nook, and hiding underneath is the old silver bridge pickup, which is basically a wire. I just lifted it up and threaded it through the little hole to meet its counterpart inside the guitar. Again, a real shame 99% of this is perfect working order and not even old. I decided to keep it all in case I'll need it later.


Here you can see the old one poking out the soundhole compared to the new one:

The next bit is straight forward, simply unscrew the pre-amp itself. With the strap inside keeping the cables together, it was a bit of a pain to get them out, but once it was done, I could pull the whole lot out.
Put it all in reverse
Putting the new one back where the old once was proved a right pain, but not too stressful. The pre-amp above has two little brackets that were to be fit underneath the screw holes you can see. So I needed one hand to push the pre-amp down, one hand to put the screw in place, another to screw them in, and a fourth hand to push the bracket from the inside, where I also needed another pair of eyes that could somehow fit into the guitar's body to see where I was putting it.
Frankly it was a miracle I actually got this right.
It was just as painful getting the bridge pickup back up through the tiny hole from within the guitar, at the furthest possible reaches that my arm couldn't even get as far in... but I had a genius plan.
To help guide my hand and pickup, I used one of the old strings and poked it down the hole from above. Enough of it threaded through and my hand could easily grab it. Then I simply pull it back out with my other hand, thus giving my inside hand the exact location of the hole, where I could poke the pickup into no problem.
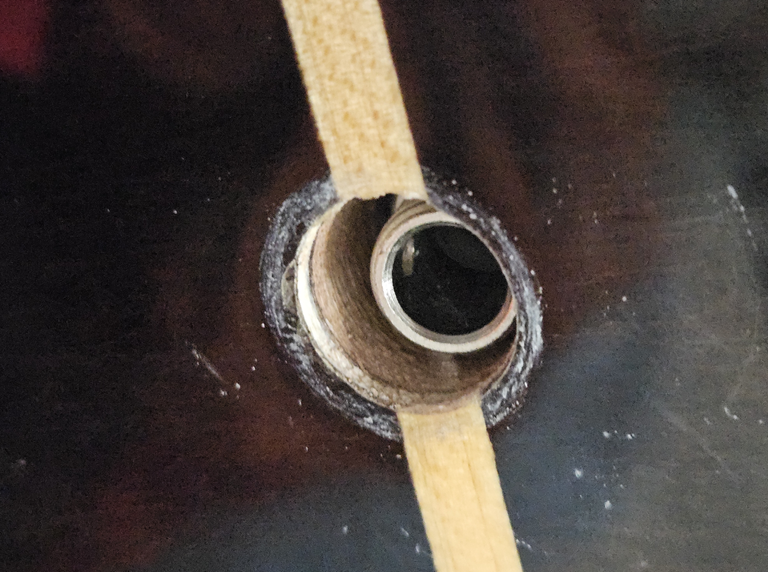
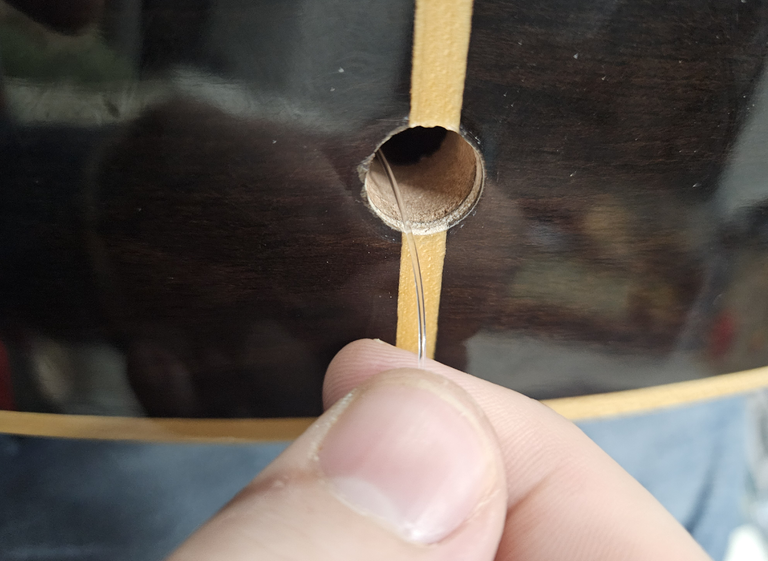
The final part was no joke either, putting the jack back through the hole at the back... from the inside. This is even further out of reach and I genuinely couldn't even get close to it. So I conjured up another genius plan.
I put the old string through this hole and grabbed it out of the soundhole the other side. Then, I clumsily tied it to the new jack input, which has those two little holes conveniently drilled in.
Then it was just fishing. Pull the string back through the hole, dragging the new system with it. Voila. It all acutally worked out significantly more smoothly than my usual DIY projects.
Then I just had to screw the washers and stuff back in place and that's basically it!
Final Touches
The only thing left now was to give the guitar a quick clean and make sure everything was as it should be.
I actually couldn't get the wires back inside their little brace inside, nor could I screw in the washers on the inside of the jack. Couldn't reach. I figure if it bothers me, I'll try again later. It was just too fiddly and I was getting tired, I still had a bunch of strings to put back.
The bridge of a classical guitar isn't glued in for obvious reasons, so you gotta be careful to align it right when you change strings. Also, if you don't have the pickup nice and level underneath, you might get a weaker tone from some strings than others, since you're not getting an equal distribution of sound.
Classical strings are a bit more of a pain than steel strings, since you have to knot them up on the bridge, and they tend to go badly out of tune for a few days while things stretch out and set themselves comfortable. I never grew up around classical guitars so I'm hardly a pro at this, but yeah, easy enough.
Hehe,this writing appears very hilarious and at the same time very interesting to read. It happens at times that many things happen within a space of time.
Hopefully my bad luck runs out and things will be smooth from now on =D
I wish you all the best bro
This is really amazing. The way how you fix the quitar makes you more creative. Well-done.
Thanks! Doesn't change my musical creativity though XD
You're welcome.
Congratulations @mobbs! You have completed the following achievement on the Hive blockchain And have been rewarded with New badge(s)
Your next target is to reach 7500 replies.
You can view your badges on your board and compare yourself to others in the Ranking
If you no longer want to receive notifications, reply to this comment with the word
STOPCheck out our last posts:
Muy buen post!!!