DIY: Video Set Diorama [ENG/SPA]
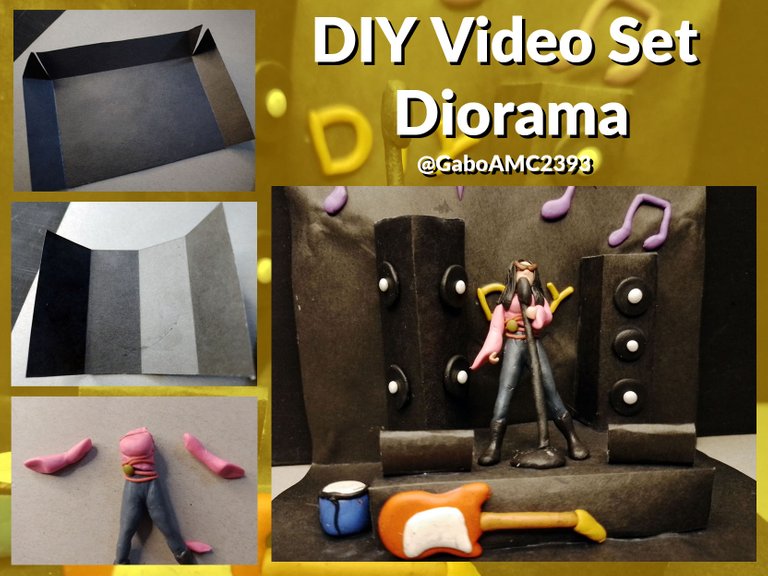

Greetings to all of you, colleagues. I must say that it's been a while since I did things with cardboard, so getting to practice for this contest was a very good way to resume crafts with this material.
Well, in the monthly contest of the DIYHub community we were invited to participate in different ways, orienting our participation in a video set.
I am not a professional in the area of audiovisuals, although I worked for years as a prop in a television channel. However, I wanted to orient my participation in an alternative that they gave me, a diorama of a video set.
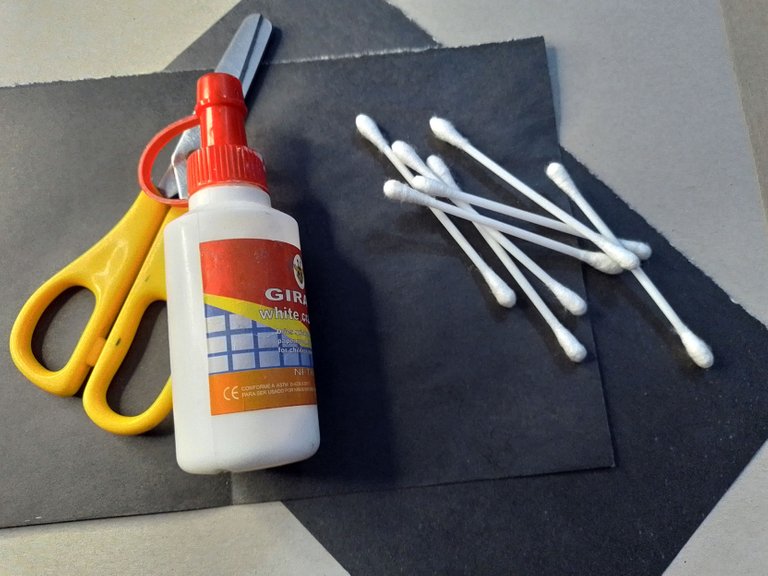
The materials I used were the same ones I already had at home, being the ear sticks an alternative to the wooden sticks, which I ran out of.
I also used cardboard, glue, scissors, wire and, of course, plasticine.

Saludos a todos, compañeros. Debo decir que hace tiempo que no hacía cosas con cartulina, así que ponerme a practicar para este concurso fue una muy buena manera de retomar las manualidades con este material.
Pues bien, en el concurso mensual de la comunidad DIYHub se nos invitaba a participar de distintas maneras, orientando nuestra participación en un set de video.
Yo no soy un profesional en el área de los audiovisuales, aunque trabajé por años como utilero en un canal de televisión. Sin embargo, quise orientar mi participación en una alternativa que ellos dieron, un diorama de un set de video.
Los materiales que utilicé fueron los mismos que ya tenía en casa, siendo los palillos de oido una alternativa a los palillos de madera, que se me acabaron.
También usé cartulina, pegamento, tijeras, alambre y, desde luego, plastilina.
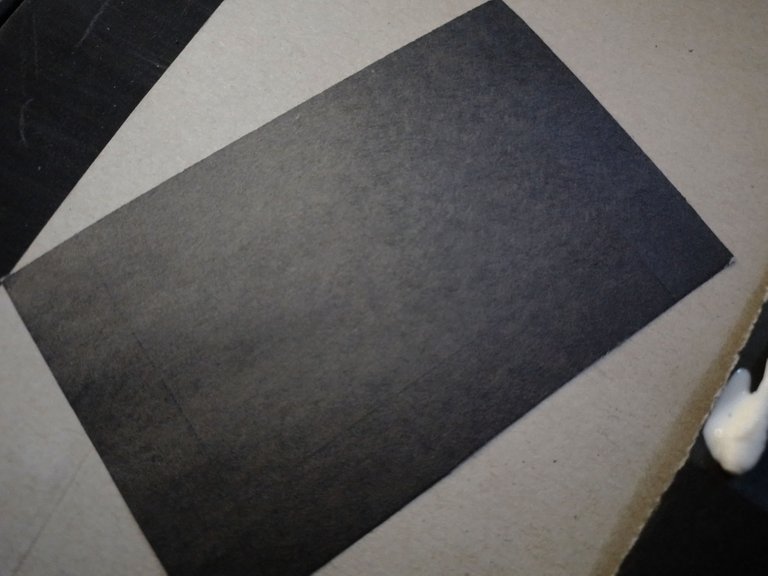
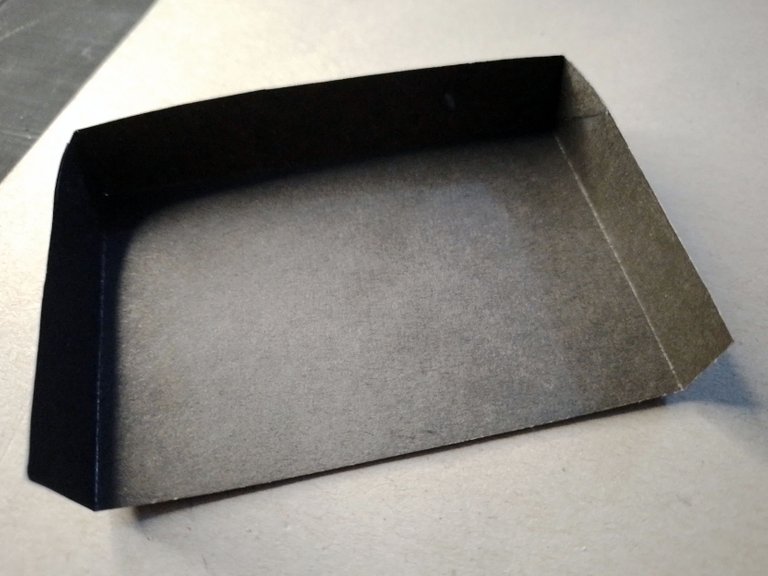
The first thing I did was the base of my video set. The idea was to make a floor and a wall where I would place all the necessary elements to create a stage where an actor could go out to sing and record his video.
Lo primero que hice fue la base de mi set de video. La idea era hacerle un piso y una pared en donde colocaría todos los elementos necesario para crear un escenario donde un actor pueda salir a cantar y grabar su video.
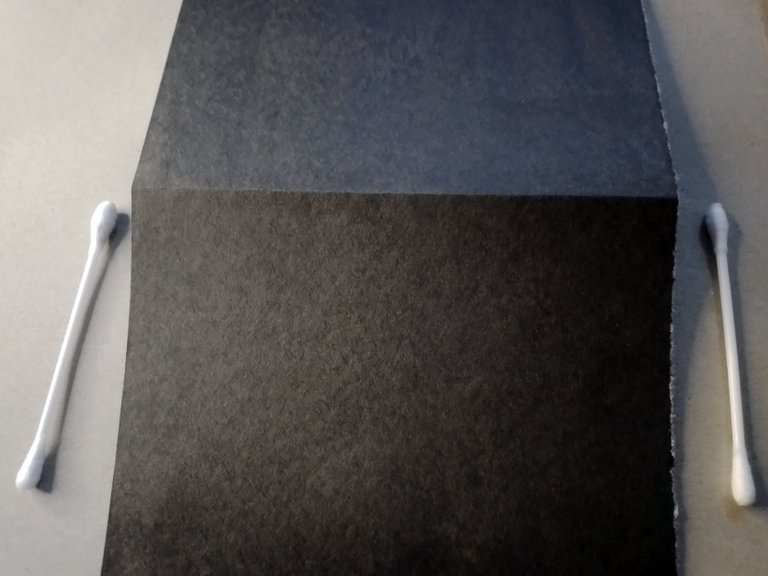
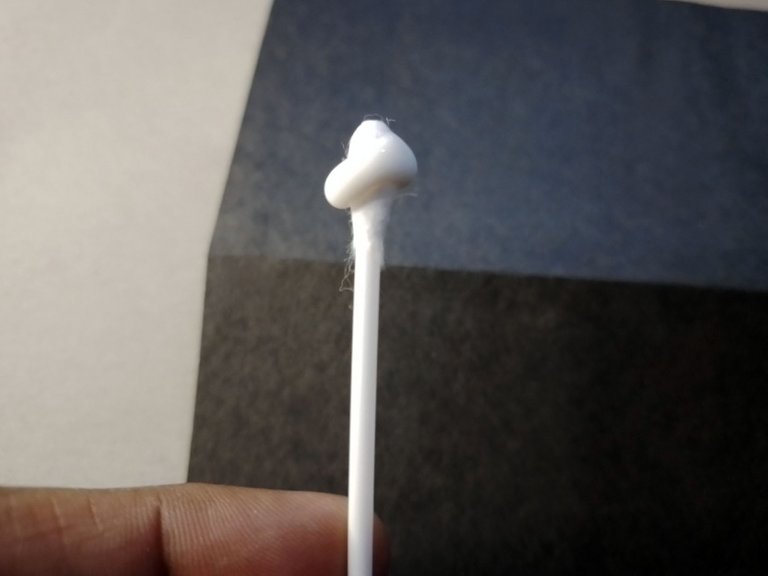
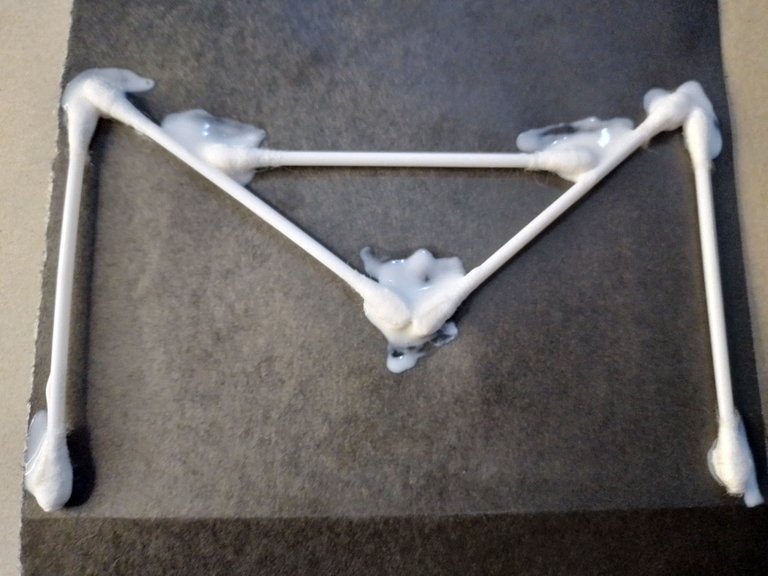
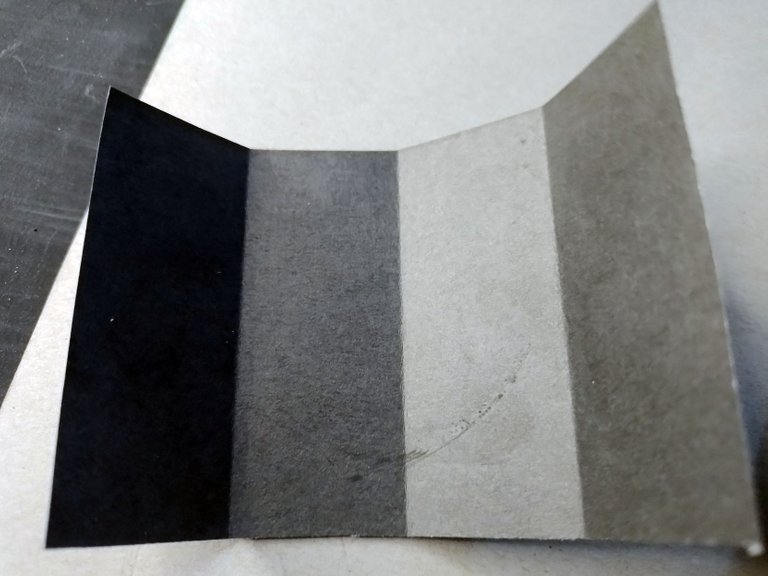
So I divided one of the black cardboard halves in half and folded it. To give support to the upper part, I used several ear sticks and glued them strategically to give more rigidity to the cardboard.
Por lo tanto dividí una de las mitades de la cartulina negra a la mitad y la doblé. Para darle soporte a la parte superior, usé varios palillos de oído y los pegué de manera estratégica para que dieran mayor rigidez a la cartulina.
 |  |
|---|
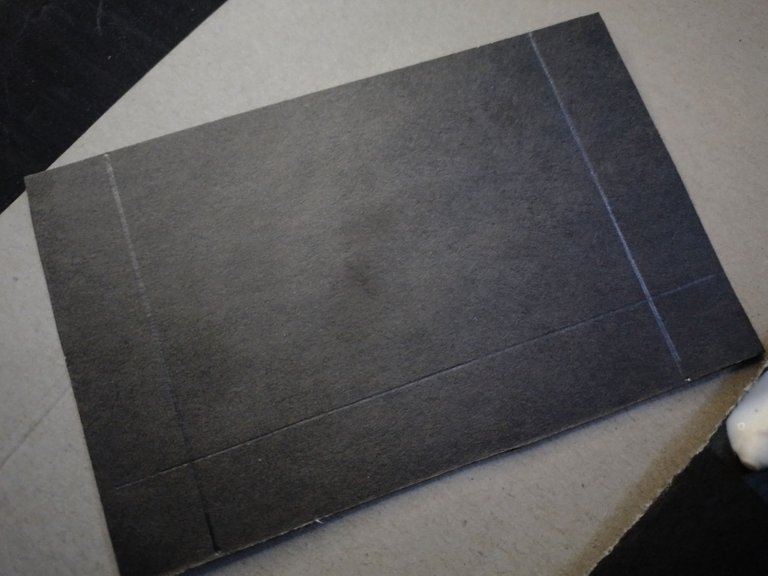
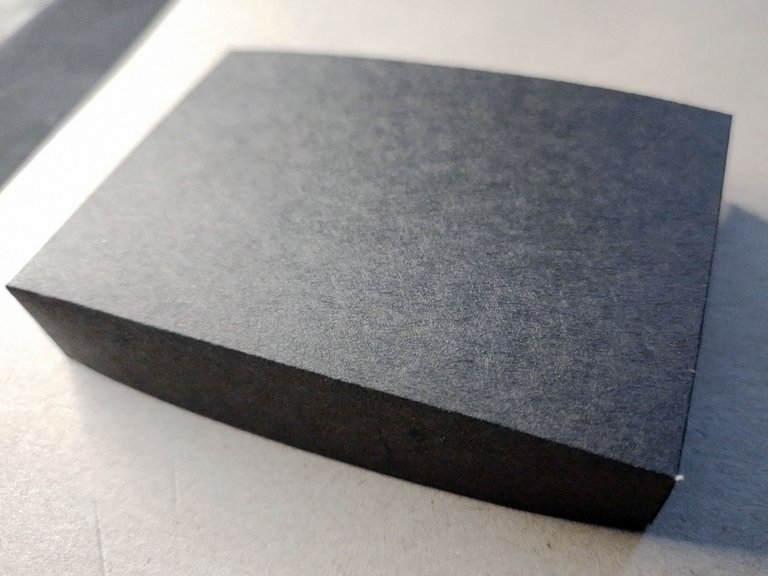
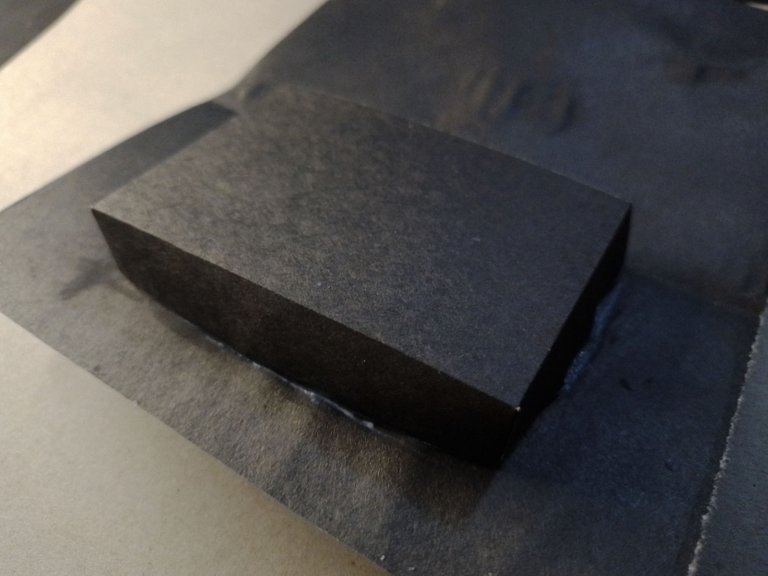
So the base of my stage was ready, I just had to let it dry. Meanwhile, I started to make the stage platform, where a couple of speakers and the artist will be.
To do this, I cut a small rectangle of cardboard and made 1.5 cm folds on the front, right and left edges.
Así estaba lista la base de mi escenario, solo debía dejarla secar. Mientras, comencé a hacer la plataforma del escenario, donde estarán un par de parlantes y la artista.
Para hacerlo, corté un rectángulo pequeño de cartulina e hice dobleces de 1,5 cm en el borde delantero, derecho e izquierdo.
 |  |
|---|
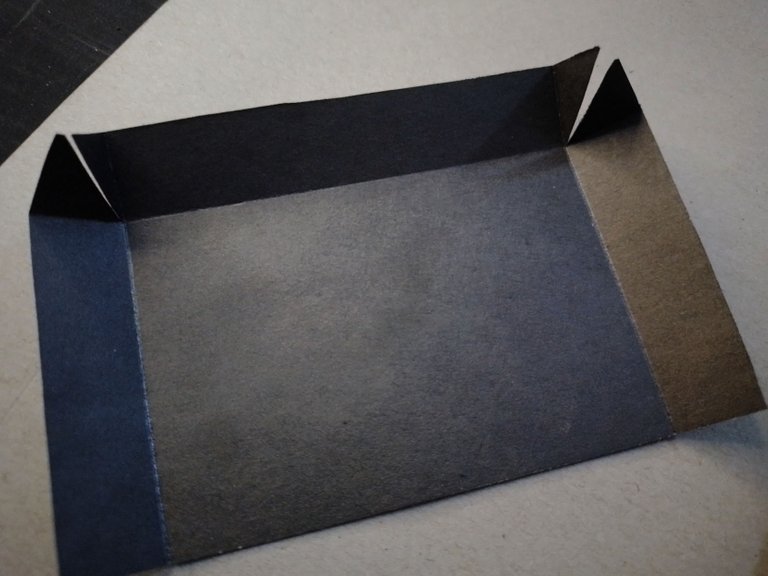
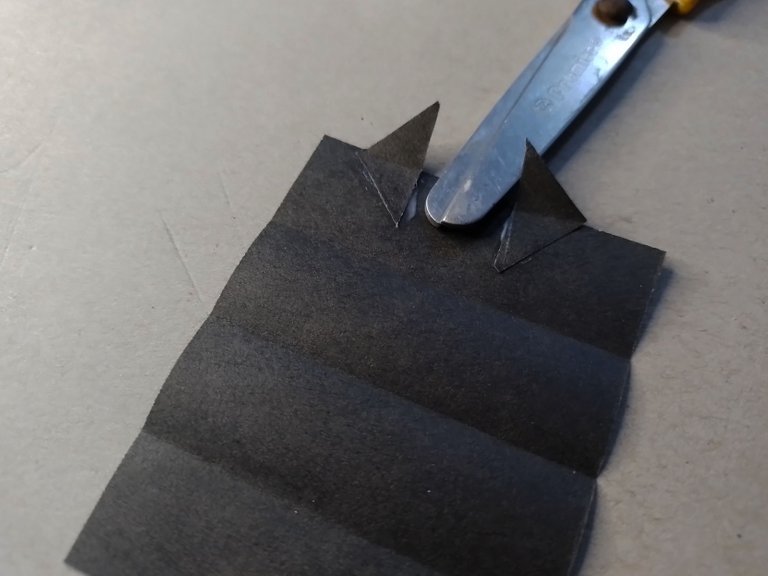
I cut these folds at the corners and glued them together to make a sort of little box. This will be glued to the base of the stage, which at this point was still drying.
Estos dobleces los corté en las esquinas y los pegué para hacer una suerte de cajita. Esta irá pegada en la base del escenario, que en este punto aún estaba secando.
 |  |
|---|
I made other shapes for the stage speakers. I made a triangular one and a square one.
I made them all in a very similar way, by folding small rectangles of cardboard that I then glued together in the shapes mentioned above.
Hice otras formas para los parlantes del escenario. Hice uno triangular y otro cuadrado.
Todos los hice de manera muy similar, doblando pequeños rectángulos de cartón que luego pegué de las formas antes mencionadas.
 |  |
|---|
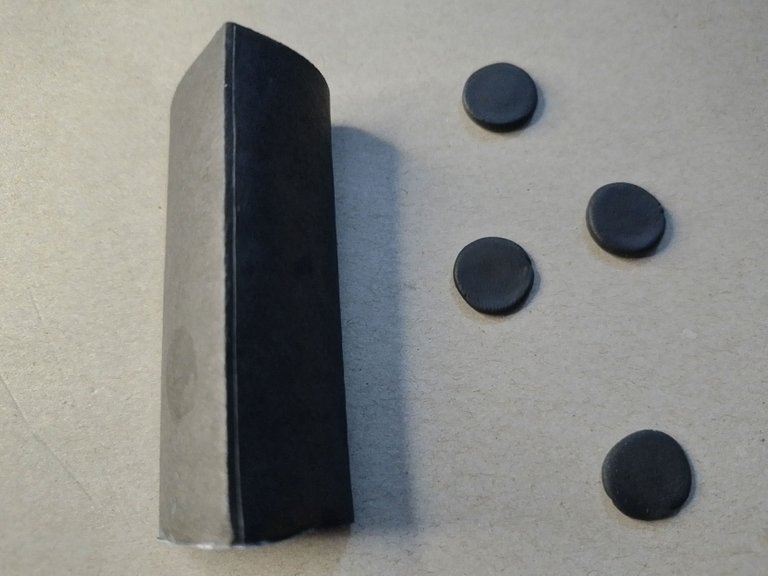
On the other hand, for the details of the speakers I used black and white play dough for these circular shapes. I made them with plasticine to make them stand out from the cardboard.
Por otra parte, para los detalles de los parlantes usé plastilina negra y blanca, para estas formas circulares. Las hice con plastilina para que sobresalieran de la cartulina.
 |  |
|---|
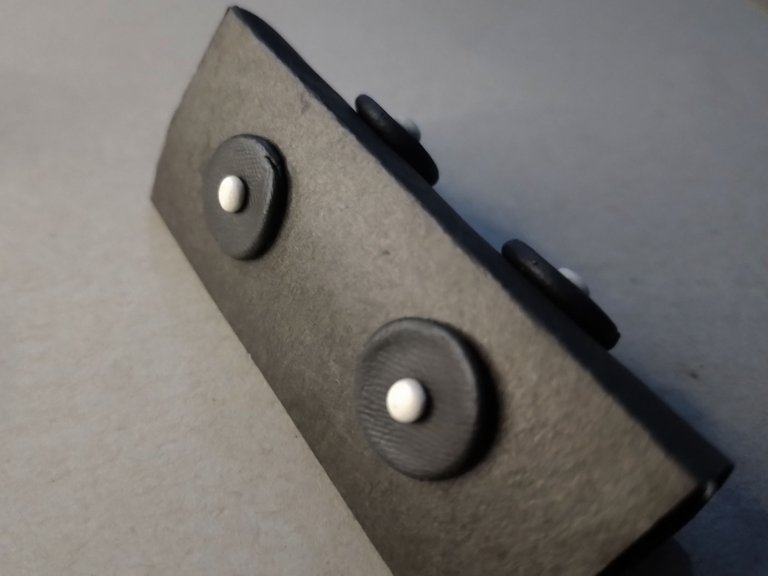
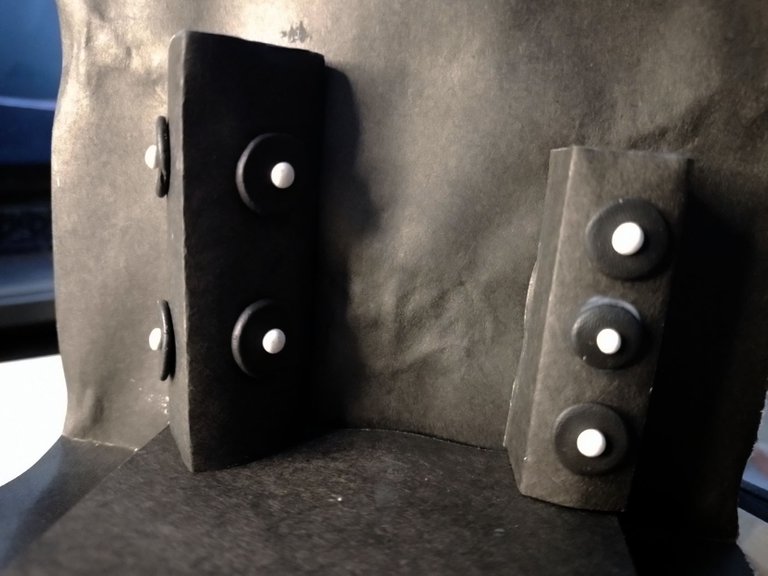
With everything ready, I started to set up the whole set.
I glued the platform of the set to the base of the stage. I also glued the two speakers on top of the platform, using glue to fix the back of the speakers to the stage wall.
Con todo listo, comencé a armar todo el set.
Pegué la plataforma del set en la base del escenario. De igual manera pegué los dos parlantes encima de la plataforma, usando pegamento también para fijar la parte trasera de los parlantes en la pared del escenario.
 |  |
|---|
And practically the stage was ready, but no, I wanted to add a character, in this case a girl.
To start with I made a simple wire skeleton and started adding blue plasticine for the pants.
Y prácticamente el escenario estaba listo, pero no, quise añadirle un personaje, en este caso una chica.
Para empezar le hice un esqueleto sencillo de alambre y comencé a agregar plastilina azul para los pantalones.
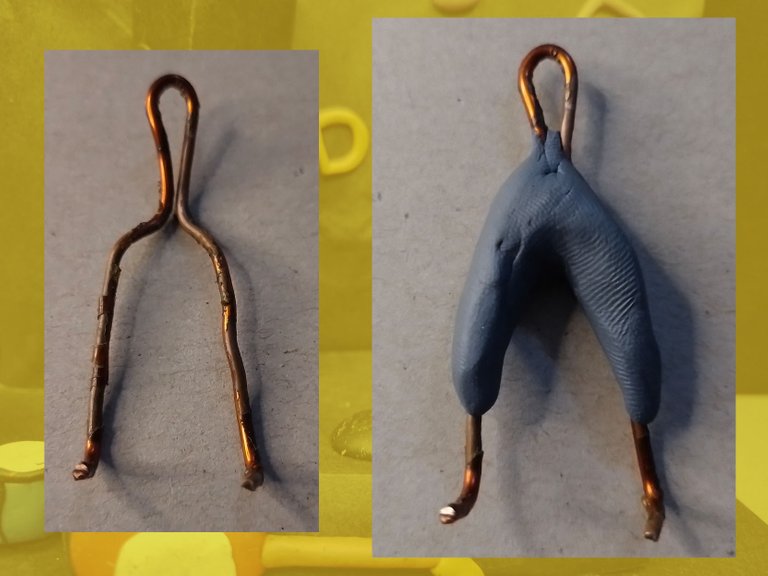
I began to mold the plasticine into the shape of tight pants.
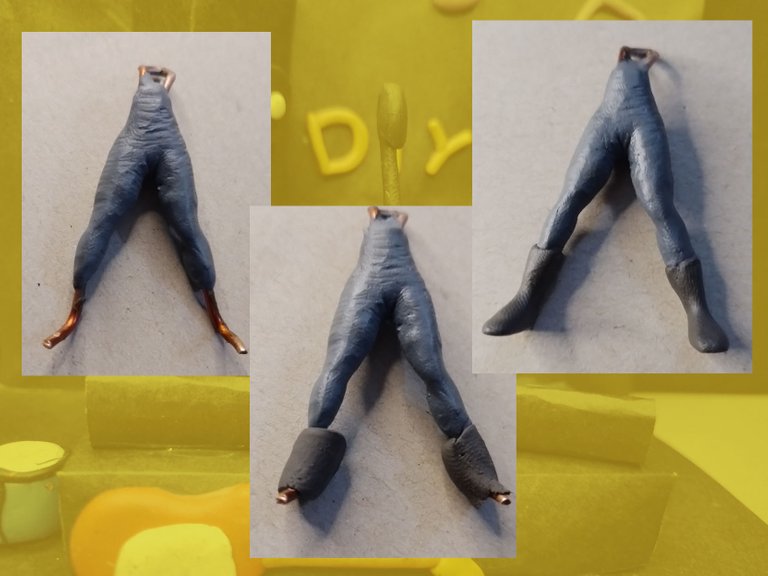
Then I used black plasticine to make the boots, long but just as tight at the ankles. Below you can see 3 pictures of this process.
Comencé a moldear la plastilina para darle forma de pantalones ajustados.
Luego usé plastilina negra para hacerle las botas, unas largas pero igual de ajustadas a los tobillos. A continuación pueden ver 3 fotos de este proceso.
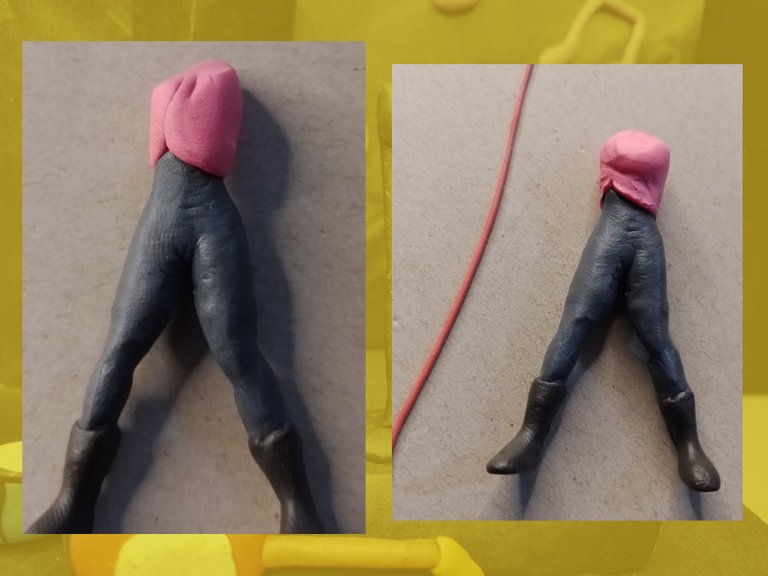
For the torso I used pink plasticine. I didn't give so much detail because it's not a very defined blouse. However, I made a sort of strap that would go all the way around the blouse with a couple of buckles.
Para el torso usé plastilina rosada. No le di tanto detalle porque no es una blusa del todo definida. Sin embargo, les hice una suerte de correa que recorrería toda la blusa con un par de hebillas.
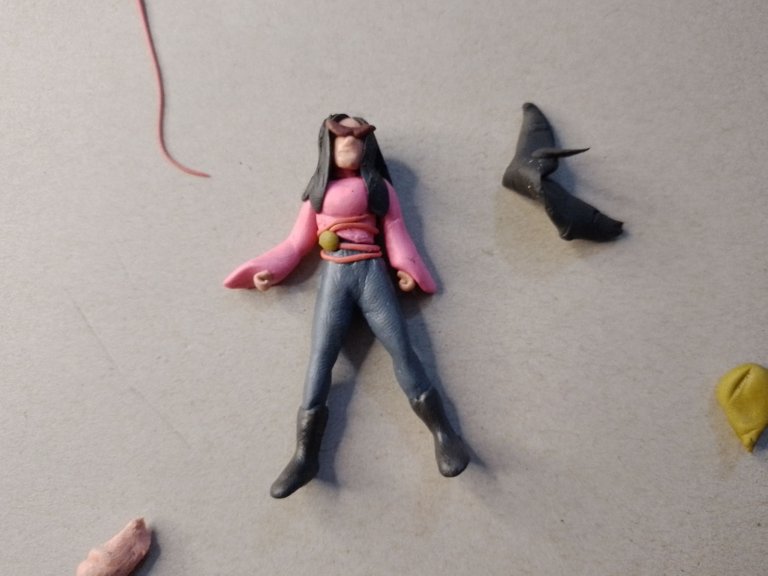
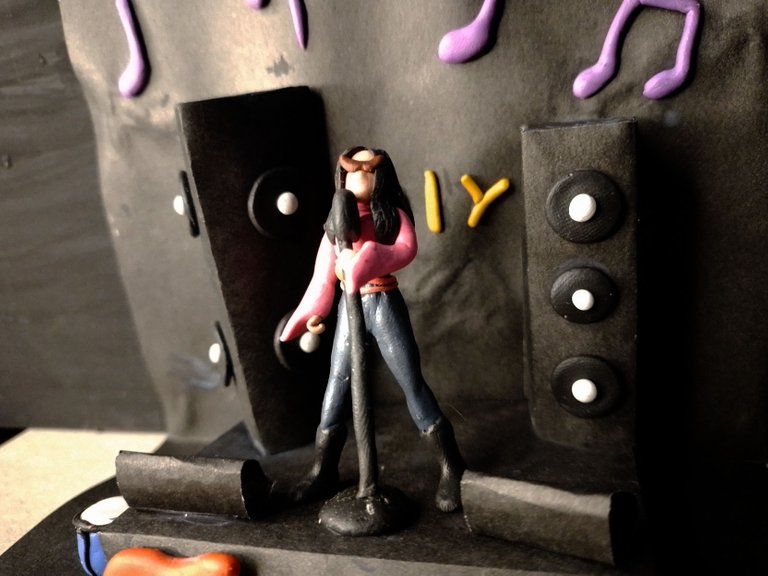
At this point I lost some photos, but I finished her arms, face and hair. In the picture below you can see how the main character of the video set diorama looked like.
Ya en este punto perdí algunas fotos, pero le terminé los brazos, el rostro y el cabello. En la fotografía de abajo pueden ver cómo quedó la protagonista del diorama de set de video.
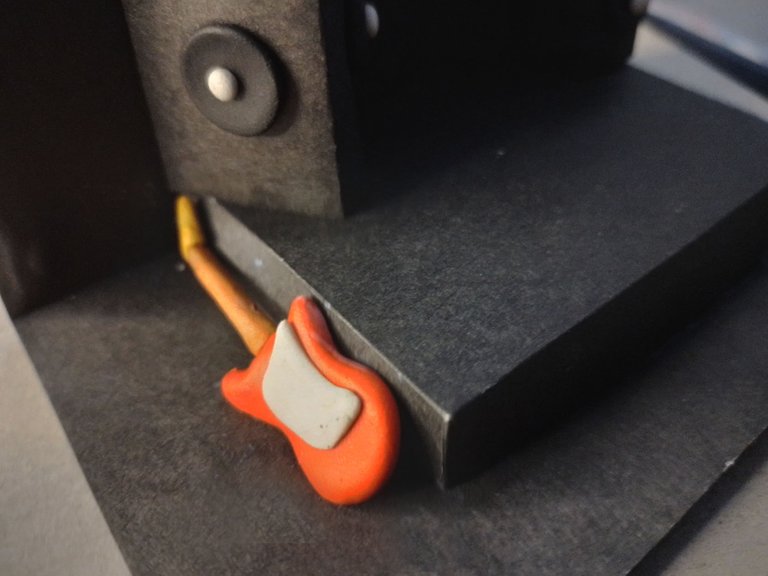
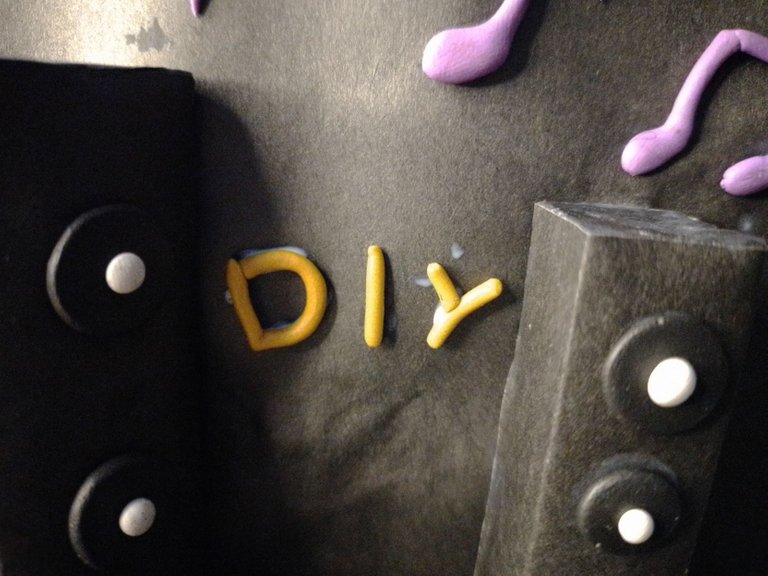
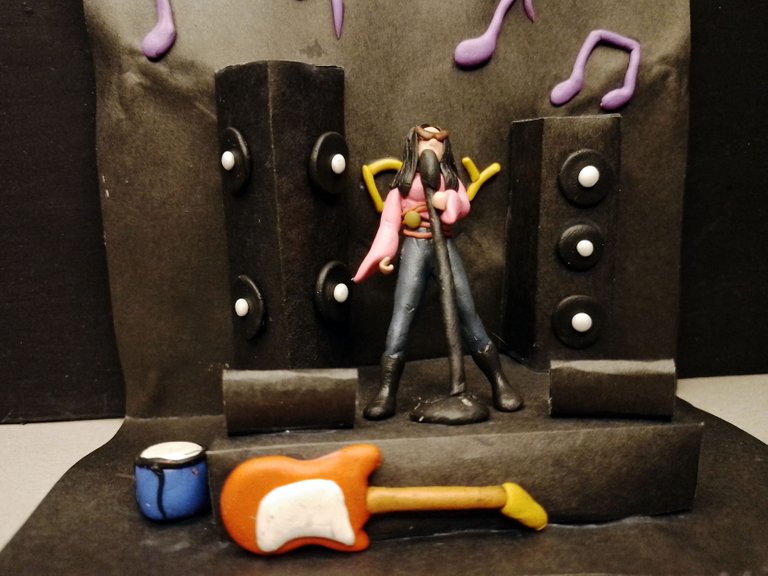
To give a little more life and color to the diorama I made a guitar, a small drum, some letters that say DIY and some musical notes.
They are all small details, but they give a little more life to a video set that is already quite dark as it is made of black.
Para darle un poco más de vida y color al diorama hice una guitarra, un pequeño tambor, unas letras que dicen DIY y unas notas musicales.
Todos son detalles pequeños, pero dan un poco más de vida a un set de video que ya de por si es bastante oscuro al estar hecho de color negro.
 |  |
|---|
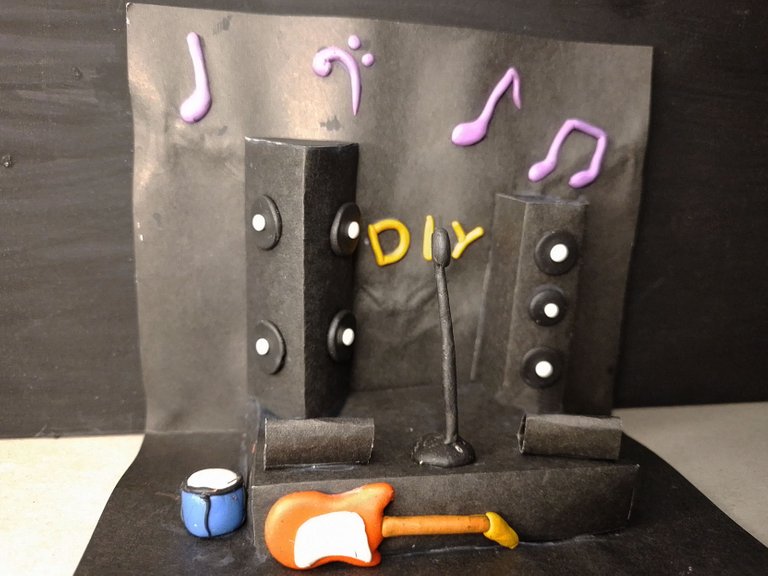
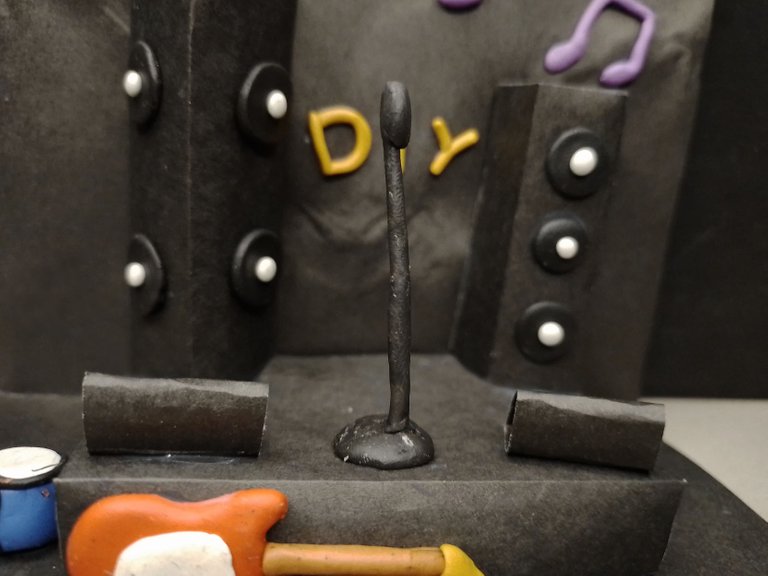
Finally I added a microphone for the protagonist of the video and this is how the diorama was finished.
Here are some pictures of the final result of this diorama.
Finalmente agregué un micrófono para la protagonista del video y así quedó terminado el diorama.
Les dejo unas fotos del resultado final de este diorama.
Well friends, this has been all. I hope you liked my simple diorama of a video set. It was fun to participate and make these different objects until I hit the whole stage.
I invite you to leave your opinions below in the comments, as always I will be happy to read them. Thank you very much for taking the time to read my post. With nothing more to add, I'll say goodbye then...
See you next time!
Bien amigos, esto ha sido todo. Espero que les haya gustado mi sencillo diorama de un set de video. Fue entretenido participar y hacer estos diferentes objetos hasta darle a todo el escenario.
Los invito a dejar sus opiniones abajo en los comentarios, como siempre estaré encantado de leerlos. Les agradezco mucho que se tomaran el tiempo de leer mi publicación. Sin más que agregar, me despido entonces...
¡Hasta la próxima!


What a fun project and a great post showing the steps!
Yes, I had a lot of fun thinking about what to do for the contest and it was certainly fun to make this set. I'm glad you liked it.
Te quedó super
Muchas gracias, me alegra mucho que le haya gustado.
Wao!!! Siento un poco de envidia de la protagonista, me encantaria un eset así para mi 🤭🤭🤭.
Que bello trabajo, los pequeños detalles y la dedicación. Felicidades.
!VSC
!PIZZA 🍕
@chacald.dcymt has sent VSC to @gaboamc2393
This post was rewarded with 0.1 VSC to support your work.
Join our photography communityVisual Shots
Check here to view or trade VSC Tokens
Be part of our Curation Trail
@chacald.dcymt ha enviado VSC a @gaboamc2393
Éste post fue recompensado con 0.1 VSC para apoyar tu trabajo.
Únete a nuestra comunidad de fotografía Visual Shots
Consulte aquí para ver o intercambiar VSC Tokens
Se parte de nuestro Trail de Curación
Jajaja te puedo hacer enbminiatura y te coloco en ese set, debes quedar genial!
🥺 eso sería genial!!
$PIZZA slices delivered:
chacald.dcymt tipped gaboamc2393
dayadam tipped gaboamc2393
@ravenmus1c(3/20) tipped @gaboamc2393
https://leofinance.io/threads/@chacald.dcymt/re-leothreads-3gk5m1
The rewards earned on this comment will go directly to the people ( chacald.dcymt ) sharing the post on LeoThreads,LikeTu,dBuzz.
This diorama definitely looks great, so many beautiful details. What a great job. A great artist performing another artist on stage.
Best of luck in the contest @gaboamc2393 ✨
!PIZZA
!LADY
!DIY
View or trade
LOHtokens.@dayadam, you successfully shared 0.1000 LOH with @gaboamc2393 and you earned 0.1000 LOH as tips. (1/2 calls)
Use !LADY command to share LOH! More details available in this post.
Thank you very much for your appreciation, for the good wishes and for the tokens!
quedó brutal, me recordó uno que hice hace años en la universidad
Epa, gracias por pasar a comentar. No tienes fotos de ese trabajo?
This is such a fantastic set. I really liked the idea. Keep up the great work.
Te quedo muy bien tu escenario, me gustó como moldeaste la chica en plastilina, te deseo mucha suerte, saludos 🖖
Que buenobque te gustó, ella era la actriz principal del Diorama.
Congratulations @gaboamc2393! You received a personal badge!
You can view your badges on your board and compare yourself to others in the Ranking
Check out our last posts:
Support the HiveBuzz project. Vote for our proposal!
Great entry!! !PIZZA
Thanks! I'm glad you like it
@tipu curate 4
Upvoted 👌 (Mana: 0/55) Liquid rewards.
Thanks for the support!
Muy bien trabajo y muy bien explicado el paso a paso.
Gracias gracias, se hace lo que se puede ✌️😁
Yay! 🤗
Your content has been boosted with Ecency Points, by @chacald.dcymt.
Use Ecency daily to boost your growth on platform!
Support Ecency
Vote for new Proposal
Delegate HP and earn more
Wow! excellent job.
Congratulations @gaboamc2393! You received a personal badge!
Wait until the end of Power Up Day to find out the size of your Power-Bee.
May the Hive Power be with you!
You can view your badges on your board and compare yourself to others in the Ranking
Check out our last posts:
Support the HiveBuzz project. Vote for our proposal!